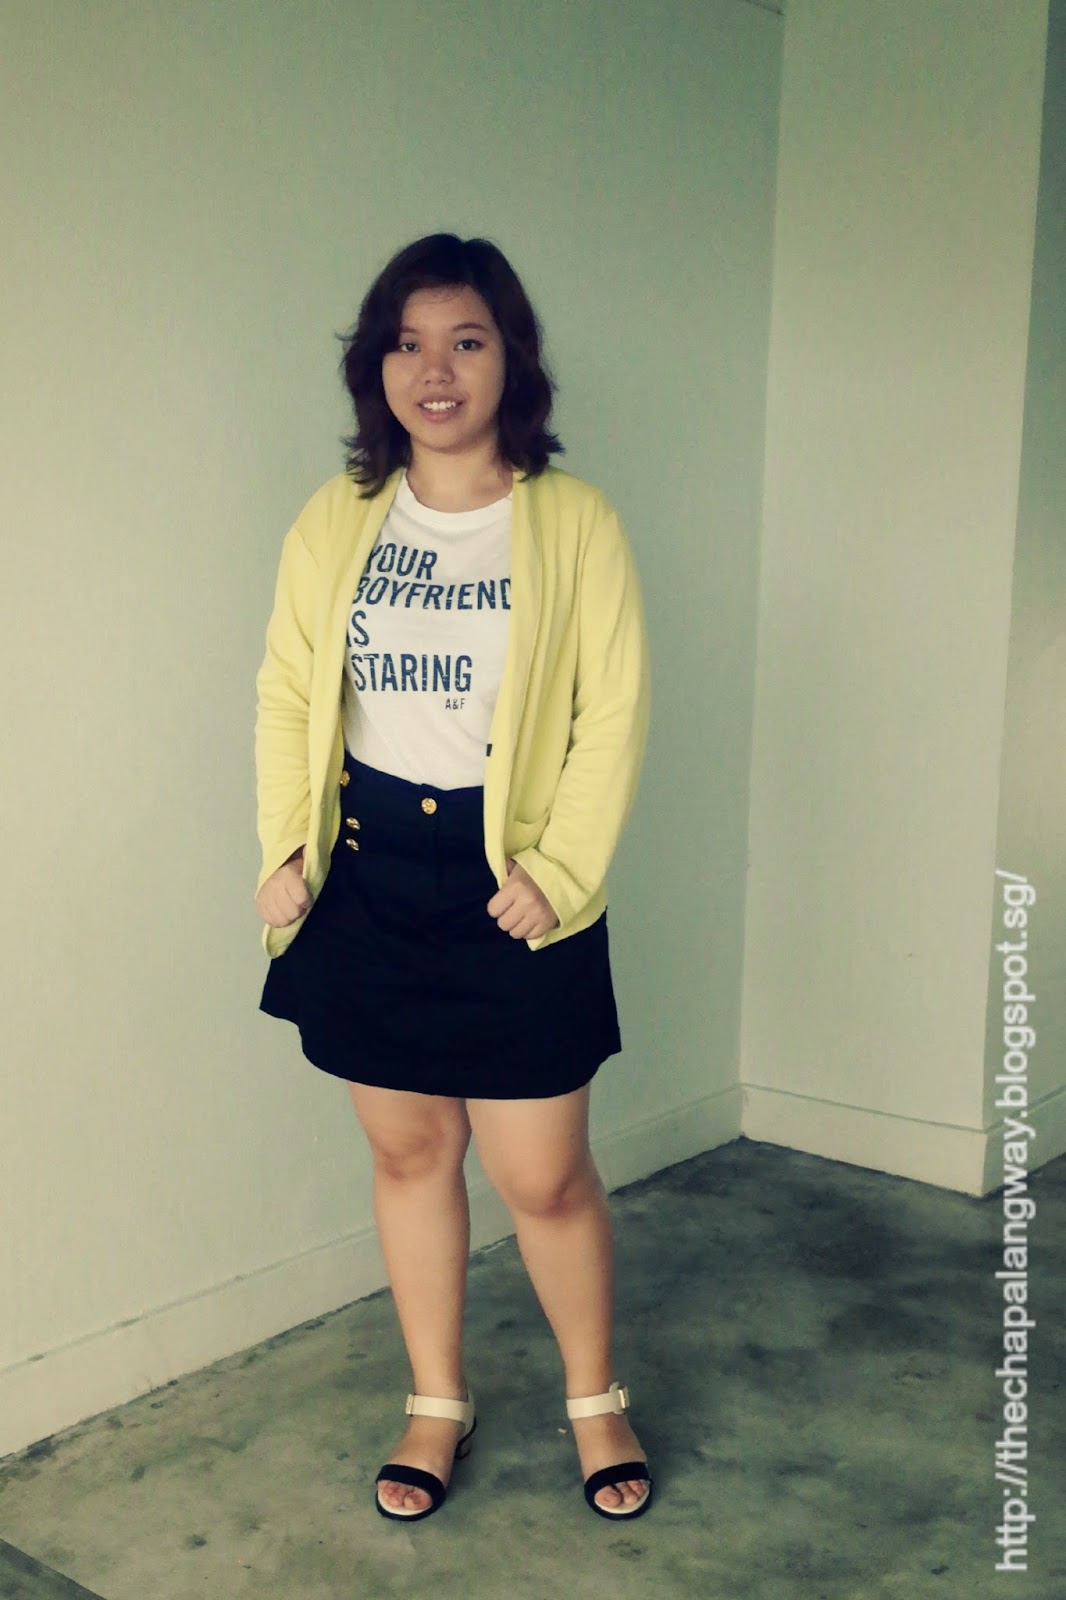
Hello everyone!
It has been a while since I did an individual post. So today I've got 2 hair tutorials for you!
Recently, I've been watching this Korean drama called Bride of the Century and I've been seriously loving the hair that they do on the main female lead (Na Doo Rim)! Maybe it's because her hair length and style is pretty similar to mine, so I really appreciate that I can get some hairstyle inspiration from her.
One of the things I've been noticing is the way her fringe is pinned up. It's a casual pin back look but there's a lot of thought put into it. I decided to share with you all here if you've not watched the show because the way it's done really helps shape the face!It's a great style for those of you who're in the awkward phase of growing the fringe out. I've also included in a tutorial on how to do the fancy braided fringe look because one can never have too many ways to style the fringe. So if you're in the process of growing out your fringe or you want to change the look of your bob, this post is for you!
The Casual Pin-Back Look
Here's the first look. It's a simple pin back but it's to the side. Notice that not all the fringe is pinned but a few strands of hair is left such that they drape diagonally across the face to shape the face. This is much more flattering than taking the whole bunch of fringe and pinning it (unless your face suits it). It's a super practical and good way of getting annoying fringe out of your eyes and look nice too :)
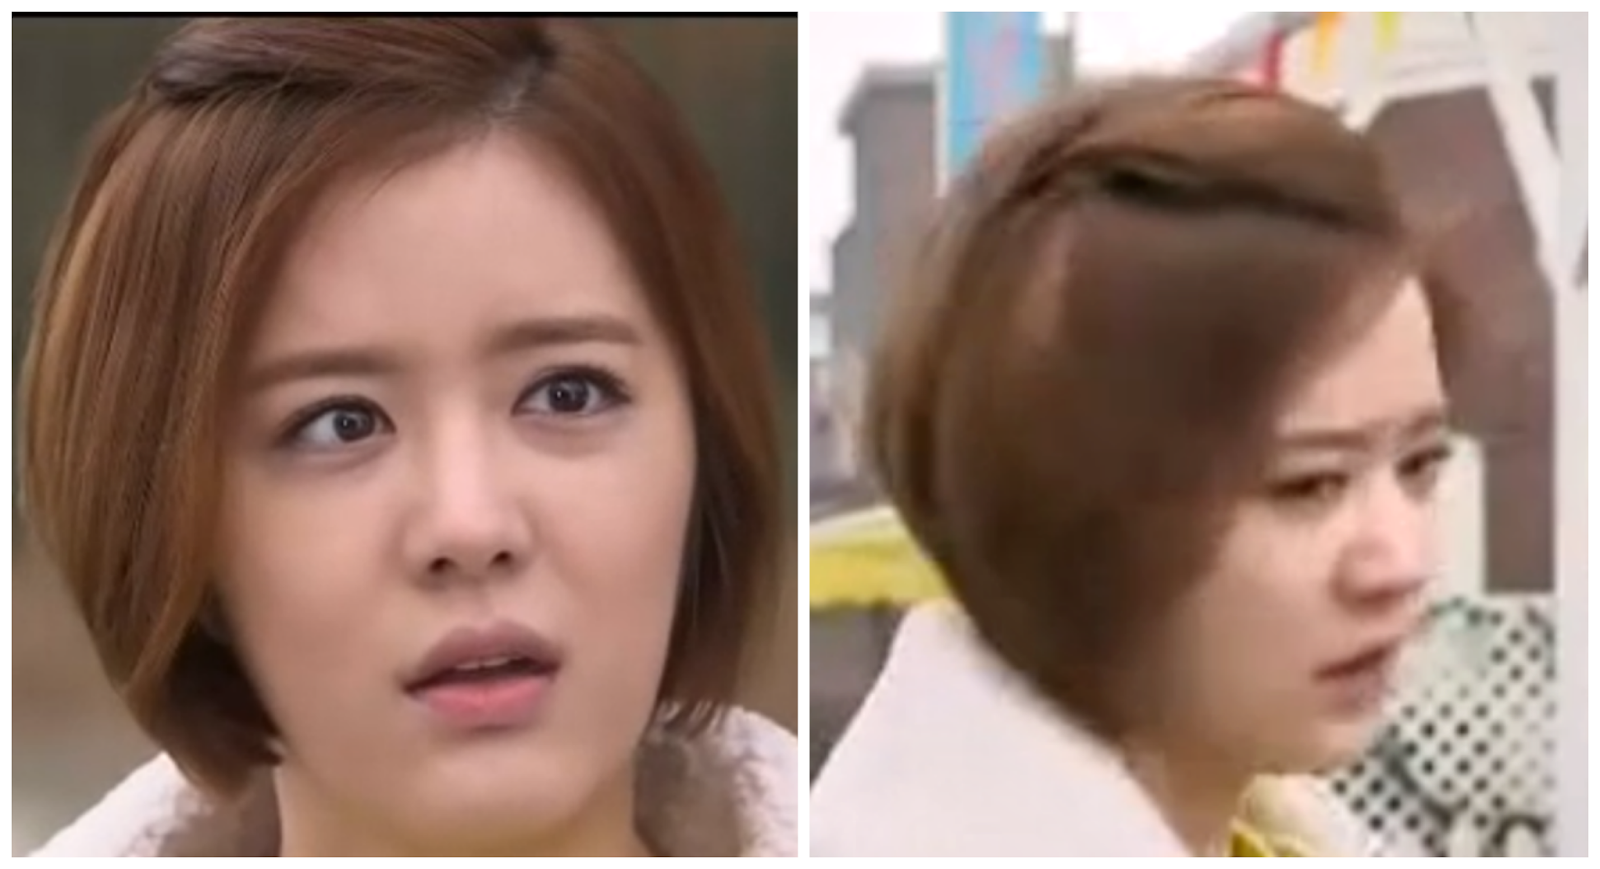 |
| Photo: Screengrab from Bride of the Century drama |
Also, the hair is not flatly pinned to the head. The person made it puffy by twisting the ends so the head doesn't appear flat (Look at picture on the right).
So what's different in these 2 pictures?
The first picture is a depiction of the way I often see people pin their fringe up. It's not very flattering for people whose forehead is squarish like mine because it emphasizes on the broadness of the head, thus making your face look bigger.
The second picture is a depiction of the way Na Doo Rim's hair was done-- it has a pretty deep side parting, in the 8:2 or 9: 1 ratio. the longer fringe is let down to cover the side of the forehead so it's more flattering on the face. Overall it looks better no? If you're interested in how to replicate the style, keep scrolling ^.^
Steps:
1 &2: Create a side parting in the ratio of 9:1 or 8:2, depending on how wide your forehead is and how much of your fringe you want to leave out. Here, I have done a pretty extreme parting because I was feeling like it.
3: Grab a small section of the fringe to pin up, around 3-4 cm wide a section. Basically just take up the part of the fringe that falls over your eyes.
4: Grab some hair from other parts of your head along the axis of your parting. Just the top layer of hair will do. Pull the fringe slightly towards the back of your head and give it a tiny twist.
5: Hold the twist and push it towards the top of the head slightly to create a tiny puff( because you don't want your head looking flat!).Pin it using bobby pins or use a claw clip like me.
6: And there you go! A simple and easy way to deal with that annoying fringe you're growing out and still look good :)
The Fancy Braid Look
Here's another look that I adore. The fringe has been incorporated into a french braid that starts at the crown and hair is taken in on both sides of the braid.This is like an upgrade from the simple fringe done in look 1.
From what I could tell in the video, only the fringe at the peak of the forehead is taken in the braid. The rest of the hair is left to shape the face like the first look. The first section of the braid takes in hair from both sides. After all the fringe that is wanted to be braided is incorporated in the braid, then the rest of the braid becomes a lace braid where only the hair from the back is incorporated in the braid. The stylist ended the braid slightly after her ear and pins it and covers the pins with the rest of the hair.
 |
| Photo: Screengrab from Bride of the Century drama |
Here's my take on it:
Steps:
1: Choose your side parting as you did in the first look.
Do this step if you want a neat line (if not, go to
step 4):
2: Segment your hair as shown. Basically take a comb and separate the part of your hair from behind you ears and tie that section so you can get a straight line as seen in the photo. This is the part which you do not want to incorporate into the braid. Use a clip or hair tie to secure.
3: From the fringe area, pin away the fringe that you do not want to incorporate into the braid.
4: Now let's start braiding! Take a small section of the fringe that you want to braid along with some other hair from the rest of the free hair and divide into 3 sections. Do a dutch braid by taking the some hair from the left side of the braid and add it to the leftmost section and then crossing it under the middle section.Do the same for the right side of the braid.
5: Keep repeating step 4 until you have incorporated all the fringe that you want to braid in the braid as shown.
6: From this point, do a lace braid. Only take in hair from the back part of the hair to incorporate into the braid. Do this until you reach the edge of your head.
7: Now, braid the rest of the remaining hair normally for a few more centimeters.
8: Secure with bobby pins behind your ear.
9: Remove the hair tie and clip and arrange your hair properly and ....you're done! Good job getting this far!
Get creative by adding hair accessories!
 |
Holographic Flower Pins: H&M
I got these at $2 on sale a few months ago. There's a black version too but the white is prettier :) |
For those of you who feel like you're pro or is too lazy to section your hair, it'll still look as good! Here, I've included a photo of my hair when I did it by feel (Picture 1) and a photo of my hair when I did it with proper sectioning(Picture 2). You can see that in Picture 1 that I took in hair from a wider area of my head.
Well I hope you've enjoyed this hair inspiration + tutorial post! I think this look is great for everyday wear or if you want to feel special. With it being wedding season, I think this hairstyle is great for attending outdoor weddings! This hairstyle goes great with curls/waves but I think it'll also work well with straight hair :) I think one of the important things about these 2 looks is knowing where to stop the parting at and how much fringe to pin up. You'll only know this by trial and error because each person's forehead and face shape differs. If you've liked this post, check out an earlier how to guide on crown braid
here. It's a super easy and chic look!
That's the end of today's post! Have you watched Bride of the Century before? I feel sad that the drama is so short compared to other korean drama series. I really enjoyed this drama alot, even with all the cliched korean drama scenes. If you've not watched it, you can watch it on Dailymotion (or google Maplestage or Tiveee.com for Chinese and English subtitled versions respectively).
Till next time!
Love,
El xoxo